
Light & Salvation


This week in Lettering class, my students painted this pretty lantern piece. I like to make things interesting and fun for them. Practicing your lettering should be enjoyable. Some things have to be routine, and oftentimes things like handwriting end up being boring and mundane. It can’t be helped at times. But when it comes to class, I’d hate to have 10-18 kids sitting there groaning through drills. I like to make it seem less burdensome. And I think that the kids take pride in their work more when they see what the end result can be.
Below is the paper that I used for this project. Water color paper would be ideal, but it is pretty thick and generally has more texture to it than a regular sheet of paper so that it makes printing less than ideal. This Mix Media Paper is perfect. It is still heavy enough to carry the water for water coloring on, and is not too thick to go through your typical home printer. I cut the paper down to 8.5 x 11, and set my printer settings to “card stock”. It prints great! You can find the file for this project at the bottom of the post.

- What you need:
- Water color Palette, I use the 24 color palette from Michaels
- Brushes
- Water
- Paper towels, for messes and blotting if needed
- Calligraphy Pen like Tombow Dual Brush Pen or similar
- Step 1. Print out copies of the project, and gather your supplies
- Step 2. With your brush, wet your paper, (but do not create a puddle!) surrounding the lantern illustration, to include over the lettering.
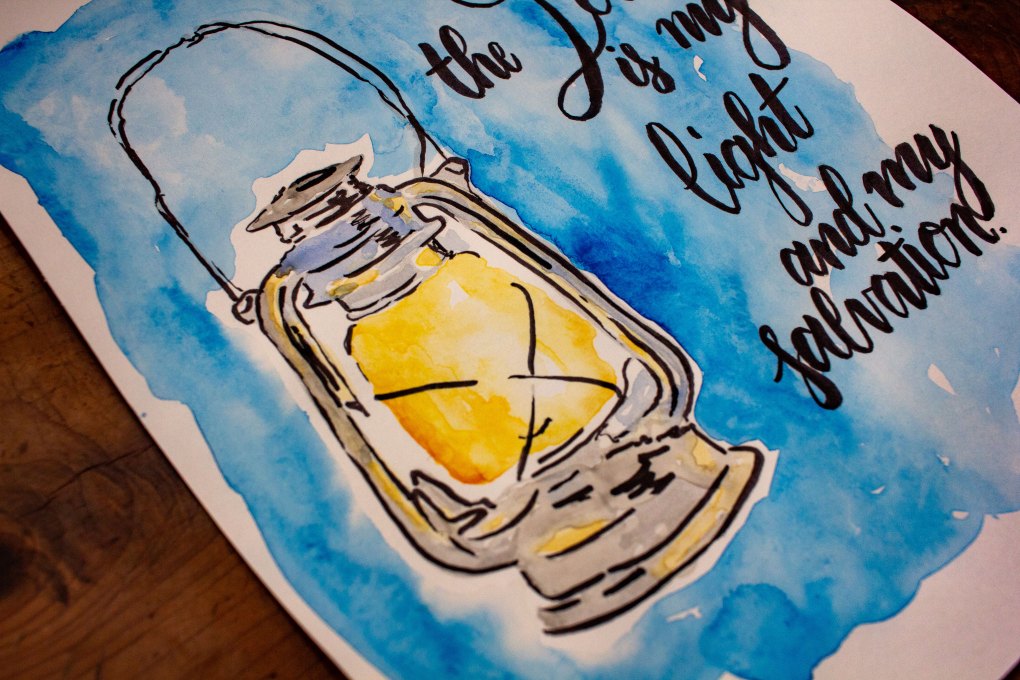
- Step 3. Collect some dark blue paint on your brush and dab it around the edges of your wet paper. The color should spread and flow freely. Do not be afraid to add more water or color to create the blue cloud-look to your background. Be sure that you can still see the lettering on the right side of the page. If you have too much color or water, you can use your paper towel to soak up some of the excess.
- Step 4. Let the blue dry. You can use a hair dryer to speed up this process.
- Step 5. In the middle of the lantern illustration, wet the area where the light would shine. Add some yellow to the outer edges of the wet area so that it fades to white in the middle. You can add a small amount of orange to the outer edge as well if you’d like. Refer to the picture for example.
- Step 6. Add small areas of yellow to the lantern, keeping in mind how light reflects off metal. Once again, let these layers dry.
- Step 7. Paint the lantern, with grey, avoiding the areas where you added yellow reflection.
- Step 8. After your paint has dried, the next step is tracing your lettering with your calligraphy brush. If you are new to lettering, there are some wonderful tutorials on YouTube to help you get started!
